
Hello Friends, Welcome to my tutorial of an altered composition book perfect for filling with your wish lists, activities, plans and memories.

Here, I have taken a standered composition book that I purchased from Wal Mart but you can also find them at The Dollar Store.

Cut your paper 9 3/4" x 7 1/2" to cover your book. If your composition book has rounded corners, you can use a corner rounder found at your local craft store or after gluing your paper down you can take a nail file and sand the edges in downward motions to create a smooth edge around your book. I then took song sheet paper that measured a 7 1/2" x 6 1/2" and distressed the edges by running my scissors along the edges and ink with Vintage Photo Distress Ink. I then added a 1 1/2 inch strip along the spine too add more dimension to my book. I also added ribbon along that strip and tied a bow which I added to the top right corner of my book. This book says Christmas Memories along the top, but you could change that to whatever fits with how you plan to use the book.

I then cut out this sweet image of Santa, cutting of the bottom right below his belt.

I then glued my image to the cover and added clear glitter to Santa's fur coat. I also glittered the kitten's bow in a bright red glitter.
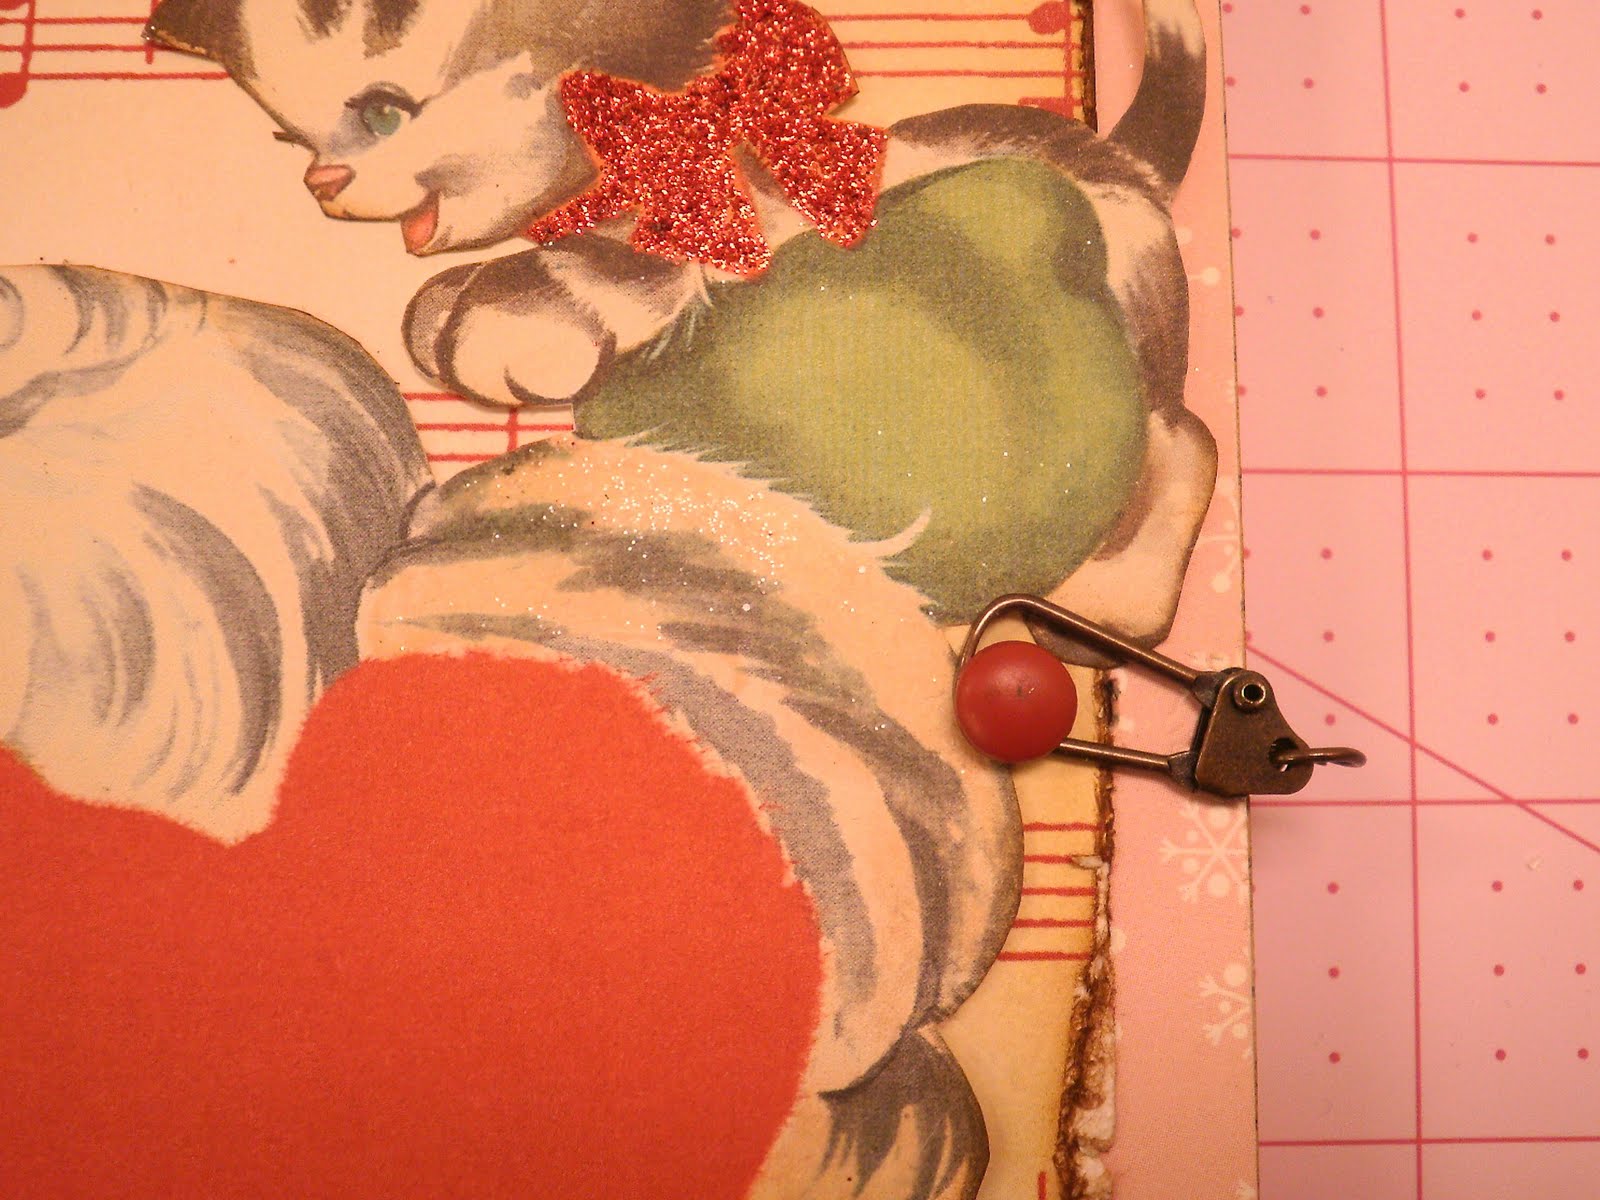
I also added this swivel clasp by Tim Holtz which you can find at your local scrapbook store. If you need help finding this, contact me for more info.
A large red brad holds the clasp in place.

To give your book more pizazz I decorated the first page, too! A simple envelope secured with masking tape gives the book a vintage distressed feel and the perfect pocket for storing ephemera and photos.

I also stamped Christmas images and added lace ribbon which I stapled to the page.

I covered the back with pink cardstock and secured the swivel clasp that wraps around the front using a red brad.

And that's it! You're done! Composition books also come in small sizes, too. They are small and the perfect size to fit into your purse!
I cut my paper 4 1/2 x 7 and wrapped the paper around the book. You will need to set something heavy on top as the paper dries on the cover so that the book will stay closed. I then added a strip of mini red ric rac to the top and bottom, glittered, and stamped the cover. I then added a paper flower with a vintage pink button tied with twine.

I hope you enjoyed another tutorial as we begin our Sugar Kissed Christmas. Please leave a comment to be entered in our giveaway pictured below. You have until tonight at midnight to be entered.
Have a great weekend, Lindsey


.jpeg)


.jpg)


.jpg)


.jpg)


31 comments:
What a wonderful tutorial, ladies! I love this Sugar Kissed Christmas! Hope you're having a wonderful night!
beautiful...I must try this..I didn't realize it would fit in a purse!!!
These little books are so cute, Lindsey! ♥ Thanks for the tutorial! I always knew that Santa must love kitties! ☺
Oh- Have you heard about flocking powder? I'd love to get some for working with our vintage Christmas images! ♥
Oh that book is gorgeous !
I really need to make myself a Christmas journal! Thank you for inspiration and tutuorial
Victoria xxx
Thank you! I have several leftover from my son. Can't wait to craft away!
Very, very cute. I love it & will try my hand at one .Thanks so much for all the tutorials . I am going to add your button to my blog. Count me in on your great give-away.
Blessings,
Myrna
What a wonderful tutorial.
Very, very cute.
Count me in on your great giveaway.
Hugs
I love this book! I'm always jotting things down on scratch paper, ideas of things that I want to do, because I try to do my decorations a little different each year. So of course I lose all of the little pieces of paper! I'm so excited about this Sugar Kissed Christmas!
Have a great weekend!
Carol
Nice tutorial! I like that clasp. The glitter and ric rac look great. Love how you decorated the first page of the book.
This is just darling!!! Thank you so much for the tutorial! It was perfect. I adore that santa image too!!
Hugs,
Amy
Love this! Thanks that you put that picture of Santa in your perfect tutorial too! I'll show you when I tried this! Have a lovely weekend and thanks for the tutorial.
Very sweet I will have to try making a Christmas Journal. Hugs,Diane
I love this thanks for posting. I'm going to buy myself one of these composition books and start making one for a gift !!
Oh my goodness, that is so sweet! It's amazing how you transformed that little book. :)
How pretty! My granddaughter did something very similar to this and has given me two. I Love them.
Iris
Thanks for sharing the secret to making your adorable composition books. Now, for those of us who aren't crafty would you mind answering a few basic questions? To be specific I am wondering what type of glue works best and where do you find your images or should I say how do you get them to be the size you want them? I have soo much to learn in these areas and any help you can offer would be very much appreciated.
BTW, I went to Barnes & Noble and bought the book mentioned in your last post. I love it.
Thanks and enjoy the rest of the weekend.
I also have made these and the little ones are perfect gifts which I have given and rec'd.
Thanks for sharing your ideas.
Warmly,
Deb :)
Very cute idea!
You could do soooooooooo many different things with these books and they are cheap after school has started!
Melinda
Thank you for stopping by my blog and saying hello. I've been browsing through your's. Beautiful and clever ideas. I see your Barbie love. I've been buying Hallmark Barbie ornaments for my daughter since she was about 12. She's 26 now and I'm still buying them. Who could ever out grow Barbie? Wish I still had the ones I first played with. They'd probably be worth a fortune right now.
Hi Lindsey...
You're so clever and artistic. The journal is beautiful. I'm inspired to give one a go!
Have a great Sunday and say "hi" to your mom for me!
xoxo
Donna
Just found your blog and I am impressed. Such beautiful things you make. I will return. Come on by my place and see me
Ginger
Good morning Lindsay, thanks for your tutorial, I think this is a very pretty book and very easy to do it even for someone like me that only knows about gardening.
I could keep on it my garden´s notes... a good idea, I´ll try to do it. Thank you.
Cariños
María Cecilia
Very, very nice!! Thanks for the wonderful tutorial!!
Sherry
That is precious, so creative...I love it! I wish I had some colored ink in my printer...so I could get online images to work with...we never can keep any around here, with these boys always printing stuff! LOL! I can't tell you the last time we had any colored ink in the printer. Not to worry though...Maybe I can find some images from some of my old Christmas Cards to use for the front of the notebook...that might just work. This was great tutorial and so sweet of you! Thanks sweet girls!
Big Hugs,
Queenie
Wonderful, wonderful and beautiful! Thank you for the tutorial, and oh, I just love this!
Loved this post!
What a great, clever charming idea!
have a great week girls!
xo
Maryellen
Such a sweet idea. I will be making some of those for sure! Thanks...
Those books are soo beautiful! You girls always have the neatest things on your site- I love it!
An awesome DIY! I love to make these. I have found any super cute vintage images like these though. :) Good Job!
I love your new Christmas Crafty look.
Very cute!
~Liz
Post a Comment