
Hello friends!
Today I wanted to take time to show you how to use Distress Inks
to create beautiful blended backgrounds such as the background of this tag.

First I want to show you this non stick craft mat . You do not have to have this to use the distress inks but I highly recommend it! It's such a good work surface. You can glue on it, paint on it, stamp on it, even heat it! Everything just wipes off with a damp cloth! It is very similar to Silpat mats that Martha Stewart made popular, several years ago.

Now the most important tool you need is this: A Blending Tool . It's by Ranger, the company that Tim Holtz creates all of his inking products for. You can find these at Michaels, Hobby Lobby or here at Amazon.com.
This tool has a piece of velcro on the end that holds a piece of blending foam. This foam is how you create beautiful soft, blended colors. The blending tool comes with several pieces of foam, which last a while. You can also buy refill packages of blending foam. You do need a separate piece of foam for each color of ink.
If you're not sure if you want to buy this just yet but have the inks and would like to try, you can use foam makeup sponges. Not as fine but it would let you see what working with it is like.

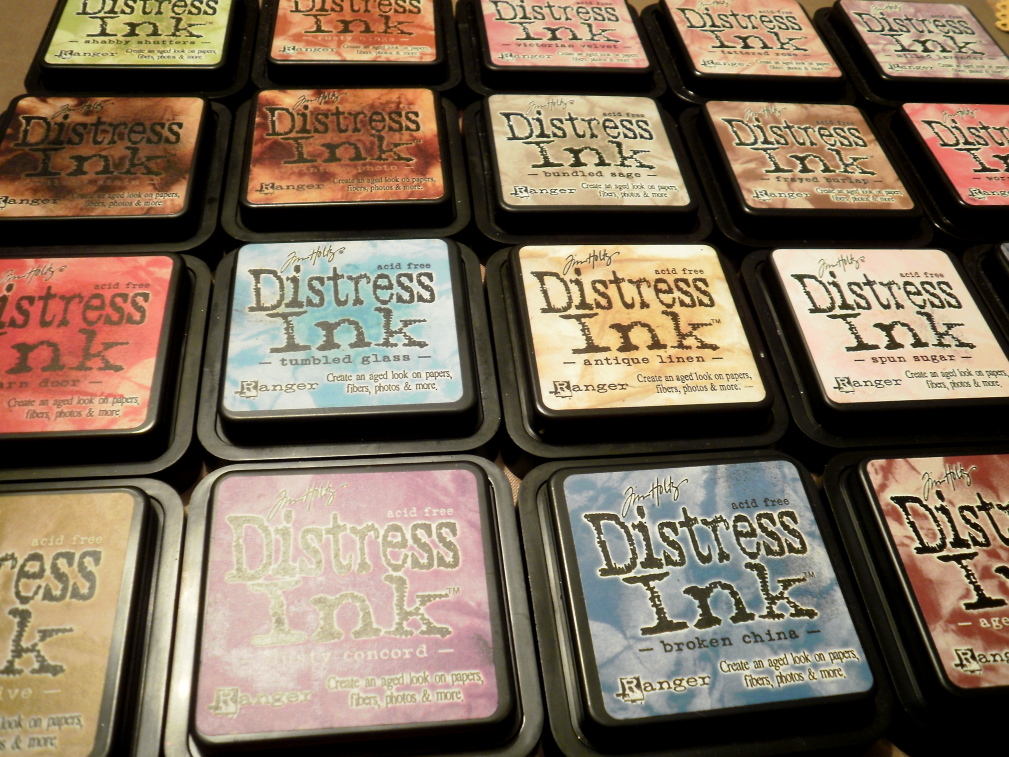
Now you need a few colors of Distress Ink.
You can find these inks at Michaels, Hobby Lobby, most scrapbook stores or here at Amazon.com.
I have lots of colors and love them! Some of my favorite colors are:
You may just want to start with one or two colors at first which is fine! If you are wanting to create an aged look, start with Vintage Photo and Walnut Stain
 . These are Dye inks instead of pigment inks, meaning that the pad isn't spongy and thick like pigment inks. The ink works great for stamping and embossing as well.
It is important to let you know that it is not a permanent ink. It will react and change with water and other products. That is so that you can create really cool effects with this ink.
I am going to show you today how to create a soft even coating of ink to cover a tag. You can use smooth cardstock for this as well.
The color I am using is Bundled Sage .
.
As you can see I have a piece of foam, my ink pad and my blending tool.

Place the foam on your blending tool and rub the tool onto the ink pad.
If you want heavy coverage, you will rub the tool into the ink pad. If you want light coverage, you will want to just tap the tool onto your ink pad. If you are working with a brand new ink pad you will want to tap it, as the ink is very wet.

Now starting off the tag and working your way on to the tag move the tool in a circular motion. That is important to ALWAYS go in a circular motion. Otherwise you will see hard lines from the edge of the foam square.

You just want to go in a circular motion all the way around your tag, gradually working inward. That way it is darkest around the edges and lightens as it goes to the center, creating a nice shading.

Here is the tag after it has been completely covered with Distress Ink.

Another option is to use more than one color, creating lovely blended backgrounds.
For this I am starting with Tumbled Glass Distress Ink.
I covered in circular motions the upper left corner and the lower right corner.

Now I am taking Antique Linen , which is a lovely light brown color and inked the opposite corners, working my way to the middle. If I had used a darker color and crossed over the Tumbled Glass, it would have created a different shade. You can easily use up to 4 different colors, more and you would have to be careful not to make it look too muddy.

I then tool Walnut Stain, which is a dark brown and went just around the edges.
I see lots of people inking their edges by taking the ink pad and running it directly across the paper.
By doing it that way, you have little control over how much ink comes out and how light or thick an edge it creates without making a mistake. By using the blending tool you can control how much ink you have on the tool and how thick an edge you will have.

I have taken this card and finished it off using paper from my 2 favorite scrapbook companies, October Afternoon and Cosmo Cricket.

Leave a comment on this post
and I will randomly draw someone on Friday, March 4 to give this tag to!
Wishing you a creative day, Lindsey


.jpg)


.jpeg)


.jpg)


.jpg)


24 comments:
Absolutely devine tag and awesome tutorial Lindsey. Thanks for sharing.
Shell x
Beautiful tag. Have a nice week, @nne
I love how the tag came out. Thanks for showing an easy way to use the blending tool.
Thanks for this great tutorial, because I have to admit that those inks scare the heck out of me! That tag is just beautiful!
GORGEOUS! I love this technique! Enjoy your day and I would love to win this beautiful tag:) HUGS!
Thank you for the tutorial. I really like the idea of using that mat too. I will pick one up as that would be such a help for so many things.
This project is my favorite.
Awesome tutorial as always!!! I need to get some of the "colored" distress inks!!
Nice clear instructions!
Lindsey,
great job on the tutorial and very timely. I have been wanting to play around with this technique and this will make it much easier. Give your mom a big squeeze for me and tell her hi.
xoxo
Lisa & Alfie
Thank you very much for this awesome tutorial. I've been using inks for years and never thought to work in a circular motion. Huh, who'd of thunk it!
Cute tag! I love Distress Inks and blending tools - they have revolutionized how I craft on paper!
Thanks for the tutorial. I'll have to look at those supplies next time I'm at Michaels. Unfortunately we don't have Hobby Lobby in Southern CA.
I've just begun trying out distress ink (own 1 ink pad and a cosmetic sponge!) so this tutorial was perfect. Thank you so much for posting it. Love your blog!
Cheryl at My Sisiter's Cottage
Thank you so much for teaching this technique. I have the blending tool, sponges, and ink but couldn't get it quite right! Can't wait to try it!
Priscilla
Lindsey,
Thank you for this tutorial, I have been using the wrong product! No wonder my tags don''t look right! I will be getting some of the foam right away!!!! :):) Sandy
And the circular motion...I remember that....now ! :)
Thanks for sharing the names of the inks. I have some of the distress inks but not all. Darn, I already spent the crafting budget for this month on a shopping trip last night to Michaels'. Nest month. Cute, cute tag!
Yvonne
Wow Lindsey, Cute Tag! That would go perfect in my kitchen with my vintage cookbooks!!
I'm new to your blog and am so glad I found it! Sooooo cute! Thanks for the tip on distressing tags.
You do such great work, and very nice tutorials.
Hello, just found your blog when searching for vintage Valentines...love the inking tutorial! I've been considering buying the Bundled Sage and the Antique Linen, I definately will now that I've seen how cool they look on your lovely tag--thanks! =)
Hi
That is indeed a lovely tag. I have recently been looking up crafting tutorials and you have given very clear instructions :)
Can you please tell me what paper the tag is? Can it be any type?
Thank you :)
This is a good post, but it didn't tell me the difference between distress ink and regular ink, which is what I want to know.
Perfectly explained! Check out my newly made blog at http://tws-products-bts.blogspot.com/! :)
Join Jio lottery 2019 to become jio Lottery winner. Come and visit our website and get found your name in the list of jio lucky winners 2019.
Jio winner 2019
Post a Comment