Hello friends!
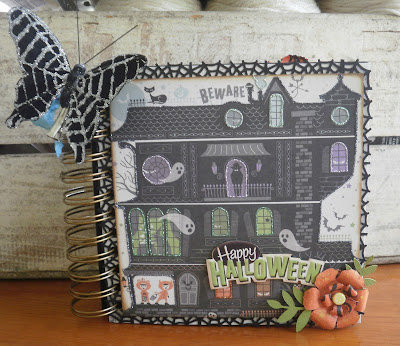
As we approach this Halloween weekend, I thought I would share this easy Halloween tag tutorial.
I started by embossing my manila tag with a Tim Holtz embossing folder.
I then picked out 3 shades of Distress Inks to color my tag with.
I started with Wild Honey and used the foam blending tool to color my tag.
When doing this, you want to use small circular motions to evenly spread the ink.
I then took Spiced Marmalade and inked around the outer edge of the tag.
Lastly, I took Rusty Hinge and darkened the edges and lightly rubbed it across the embossed parts of the tag.
I then stamped my image on to white cardstock and cut it out.
Because I was using a new stamp I had to use the eraser trick.
Have you tried it?
When acrylic stamps are new, they are super sticky, so to help remove it, you rub an eraser over it before using the stamp. It's a great way to condition the stamp.
I still had a little patch on her dress that didn't stamp completely, so instead of stamping it again, I took a q-tip and rubbed it in the ink and created a pattern on the dress to cover up my patchy spot.
I then used a Copic marker to add a little color to her skin and hat.
The stamp set I am using is by Close To My Heart. I don't by their products much but I really loved this cute Halloween set.
I cut out a label on my Cricut using the Art Philosophy cartridge and stamped it to finish it for my tag.
I was then ready to start assembling my tag.
I add a little stamped detail to the tag first and then glued the label to the bottom of the tag. I added the witch and her cat, making sure to tuck her legs underneath the label. I then used a black gel pen to add stitch lines around the edges of the tag.
A glittery bat sticker up in the corner adds a little whimsy to the tag.
I wanted the tag to have a more grungy look, so I took Pewter Liquid Pearls and added a few drops around my tag. It's a dimensional paint and gives you a similar look to bling.
To add a little more sparkle, I added orange glitter, using a Martha Stewart Glitter Glue Pen across the embossed parts of the tag.
All that's left is to add some ribbon!
I hope you enjoyed this tutorial!
Have a wonderful Friday, Lindsey










.jpeg)


.jpg)


.jpg)


