Monday, December 19, 2011

Jolly Santa Christmas Tag Tutorial and Vintage Card


Hello friends!
I thought this was tag #10 of my 12 tags of Christmas but I was looking back through my posts and realized a skipped #7! Whoops!!!!
So this is Tag #7!


Cut your tag shape to 3x6 or take a manila tag and a Santa image. I am using the Jolly Santa digi stamp from my Sugar Kissed Cottage Digi Stamp store on etsy.
I printed him and colored him in using Copic markers.


Ink the top and bottom of the tag with red ink. I used Festive Berries Distress Ink.
Cut a piece of patterned paper to fit the tag and tear the top and bottom, then adhere to the tag.


Ink a doily with Vintage photo Distress ink and adhere to the center.


Cut a banner shape from a scrap of pink patterned paper and ink the edges with red ink. Adhere to the center.


Take a white gel pen and add stitch lines around the edges of the tag.
Tie a pink ribbon through the top of the tag and add a Christmas tag to the top. I use this fun little gold and red glittered bell sticker that I found at Michaels from the Martha Stewart Christmas line.


Add a strip of mini red pom poms to the bottom of the tag.


Cut holly leaves from sheet music and ink with Peeled Paint Distress Ink. Adhere to the tag. Add a pink paper rose to the holly leaves.


Add a couple paper snowflakes around the tag.


Add your Christmas sentiment.
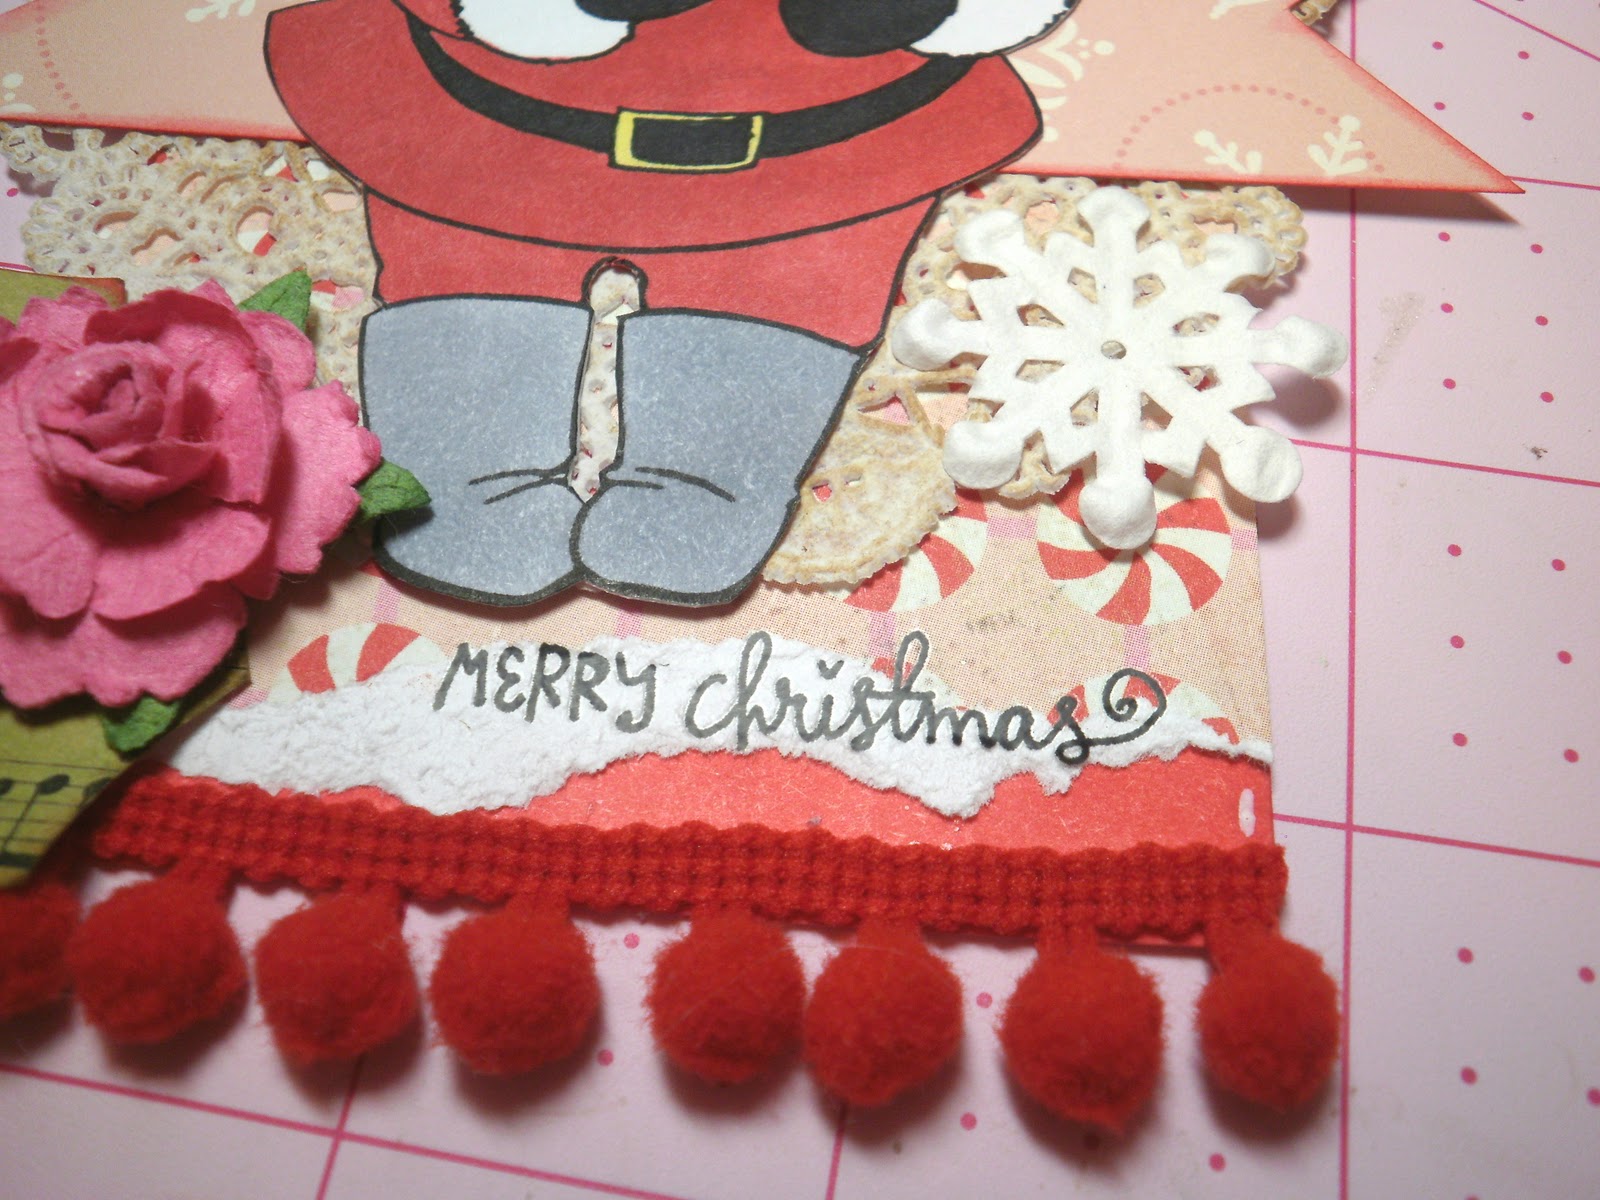

It's done! A quick tag to make that would look so cute attached to your Christmas packages!


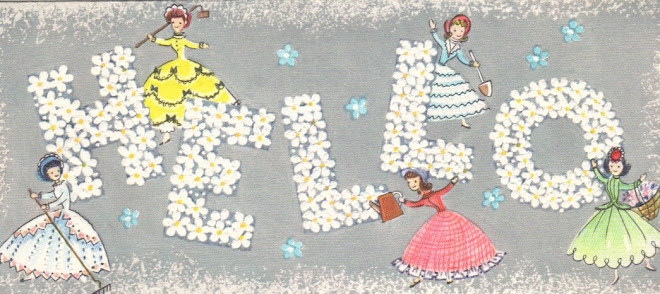
I also wanted to share this vintage Christmas card with you today!
I love this one! The grey background the looks so pretty with the black and red colors!
Enjoy!


Wishing you a wonderful start to your week, Lindsey


Sunday, December 18, 2011

Victorian Angel Postcards


Love came down at Christmas;
love all lovely, love divine;
love was born at Christmas,
stars and angels gave the sign.
                                    -Christina G. Rossetti


We're sharing with you these two precious
postcards from days gone by.
May they bring you joy and blessings
this Christmas time.


Have a blessed Sunday,
Twyla and Lindsey


Saturday, December 17, 2011

Giveaway time!


Hello!
Can you all believe that Christmas is little more
than a week away!  The time is passing way
too quickly!  We are enjoying the sweetness
of the season and the treasure of our family.


We want to thank each one of you for sharing in our
Sugar Kissed Christmas celebration.
We hope that you have seen some things you liked
and some ideas you can use.


To show our thanks, we are offering this red scarf!
It's a Queen Anne's lace scarf that I, Twyla, crocheted.
Just leave a comment below and we will draw a
winner!  We will announce the winner on Tuesday.


Have a wonderful day!
Twyla and Lindsey


Friday, December 16, 2011

Vintage Kitty Christmas Tag


Hello friends!
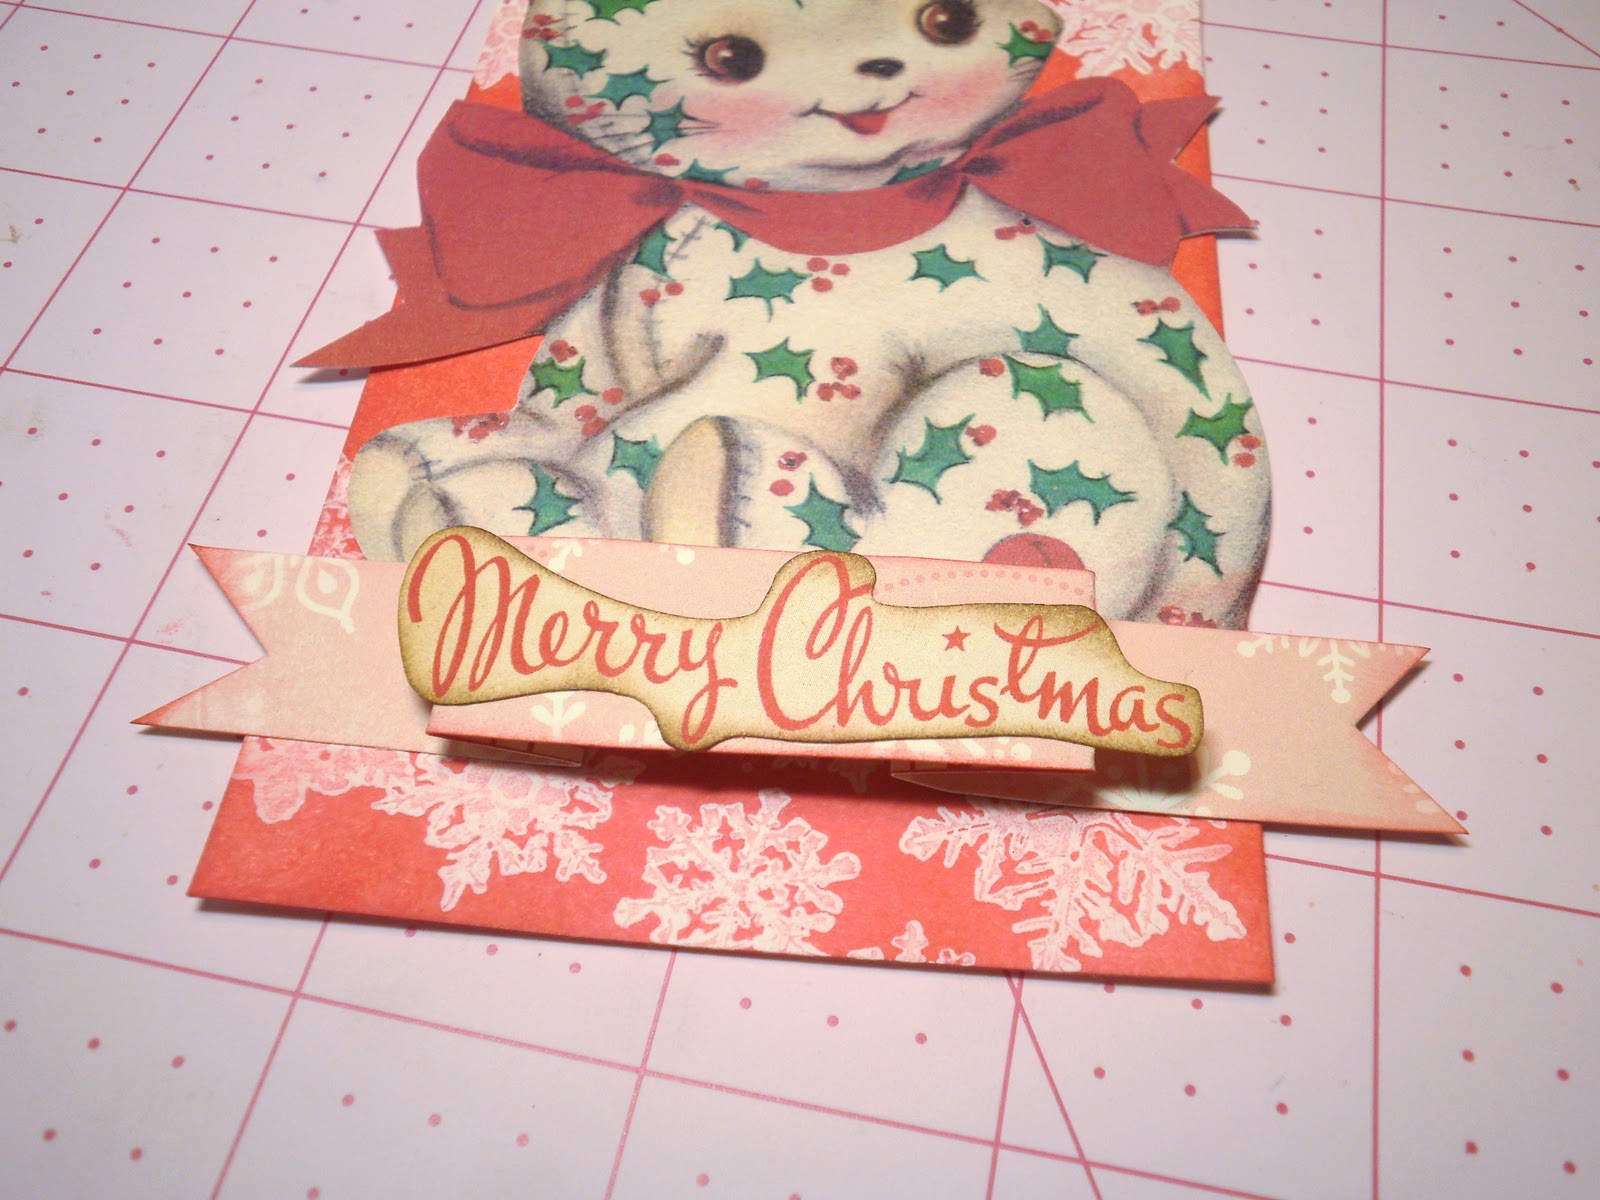
Christmas Tag #10 features a super sweet vintage kitty card!


Print this card and cut out the kitty.


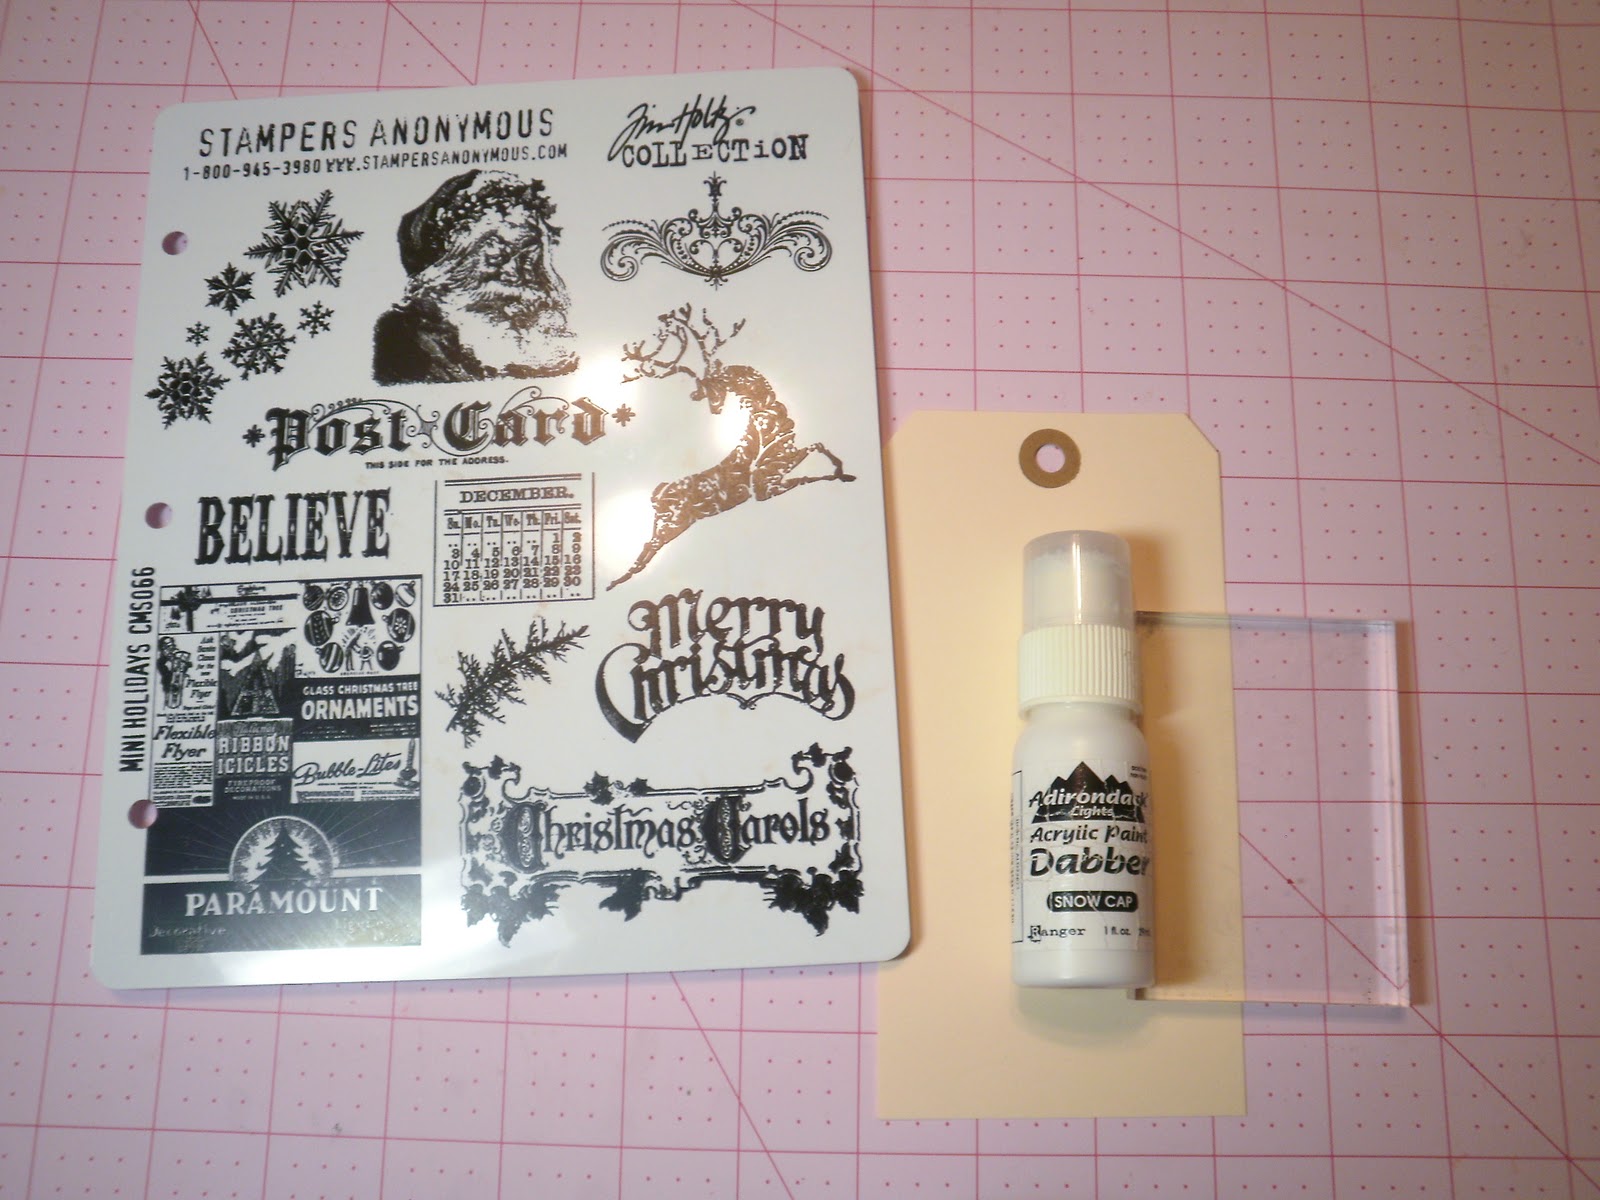
Cut out a tag shape or take a manila tag and pick out a stamp to use for the background of the tag.
You will also need white paint.


Ink your stamp up with white paint and stamp along the top and bottom of the tag.
Let paint dry.


Now cover your tag with red Distress ink (Festive Berries). Don't worry about covering the stamped image. go right over it.


Now take a damp cloth and lightly rub the ink off the stamped image.
Isn't that cool that the paint acts as a resist to the paint?


Now glue the image to the center.


Cut out a banner shape from patterned paper. Fan fold the ends to create a layered banner.
Adhere a Christmas sentiment to the banner.


Glue the banner to the bottom of the tag.


Tie a ribbon through the top and the tag is finished!


Have a wonderful day, Lindsey


Thursday, December 15, 2011

Altered Tin Ornament Tutorial


Hello friends!
I found a cool tart tin at an antique store recently.
 I decided to make an ornament with it and I'm sharing the tutorial with you!


I started with my tin. You can find these in all different shapes and sizes at antique stores or online.


I then started picking out what I wanted to use with it.
Paper, stickers and red and a white striped pipecleaner.


I cut out a 3 inch paper circle and inked the edges. I then took a Santa sticker and covered the back with pop dots to add more dimension to the ornament.
The paper and stickers are from October Afternoon's Holiday Style line.


Layer the sticker in the center of the circle.


Take the pipecleaner and glue down to the inside of the tin.
Glue the circle to the center.


Cut out 2 holly leaves from green cardstock. Glue to the bottom of the ornament and add 3 red adhesive jewels to the center of the holly. Now cut a piece of ribbon and hot glue to the back to create the hanger.


Have a wonderful day, Lindsey

Wednesday, December 14, 2011

Vintage Santa and Giveaway Winner!


Hello friends!
I just had to share this sweet vintage card with you! I love everything about it!
The lamp, the book and especially the red and white striped mittens!


We hope you have been enjoying our Sugar Kissed Christmas so far!


There is still much more inspiration and craftiness to share!


Can you believe that it's only about a week and a half till Christmas?
Wow, not long to go!
Are you ready?


We would like to announce the winner of our Christmas Tag giveaway!
It's Holly of Cutie Pie Cottage.
Congratulations!

Have a lovely day, Lindsey and Twyla


Tuesday, December 13, 2011

Vintage Style Christmas Tag #9

Hello friends!
It's time for tag #9 of my 12 Christmas tags!


I love this card! I was so excited to find such a lovely card with the song sheet background and woodgrain.
Print and cut this card out.


Cut a tag from cardstock or take a manila tag measuring 3x6 and emboss it with a woodgrain pattern. I am using an embossing folder by Tim Holtz.


Ink the tag with Vintage Photo Distress Ink.


Now take Aged Mahogany Distress Ink, and lightly ink over the tag.


Now adhere a scrap of patterned paper to the center of the tag. Then layer a small white doily to the tag. Adhere the vintage image to the center. 


Cut 2 strips of ribbon and glue to the top and bottom of the tag.


Add a pearl stick pin through the ribbon and add a small paper rose.
Cut a snowflake from cardstock and glue to the tag using pop dots. Add a button to the center of the snowflake.


I then took a small piece of snowflake tissue tape and adhered it to the upper left corner of the vintage image. The tissue tape is by Tim Holtz.
Add ribbon to the top of the tag and it's done!


Thank you for stopping by, Lindsey

Monday, December 12, 2011

A Very Vintage Christmas

Hello friends!
Today I wanted to share with you a wonderful new book!

It's by Susan Waggoner, who has published several wonderful books about the history of Christmas. This one is more geared toward crafting.

She starts with the 1920's and goes through the 60's talking about what colors an style were popular at the time. She also shares simple craft projects.


I am about half way through reading this book. I thought it was very interesting to read that in the majority of the 1920's, poinsettias were not decorated with as there was a rumour that it was poisonous and that a child had died from eating a leaf. It was later proved untrue, although it is poisonous to pets.


There is even a small section of recipes as well as several pages at the back of vintage Christmas images to scan and print.


I could not find it a my local book store, so I purchased it on amazon.

The last Tim Holtz inspired tag to share. Visit his blog to see all 12 of his Christmas tags.


Have a wonderful day, Lindsey