
Hello friends!
Today I wanted to take time to show you how to use Distress Inks
to create beautiful blended backgrounds such as the background of this tag.

First I want to show you this non stick craft mat . You do not have to have this to use the distress inks but I highly recommend it! It's such a good work surface. You can glue on it, paint on it, stamp on it, even heat it! Everything just wipes off with a damp cloth! It is very similar to Silpat mats that Martha Stewart made popular, several years ago.

Now the most important tool you need is this: A Blending Tool . It's by Ranger, the company that Tim Holtz creates all of his inking products for. You can find these at Michaels, Hobby Lobby or here at Amazon.com.
This tool has a piece of velcro on the end that holds a piece of blending foam. This foam is how you create beautiful soft, blended colors. The blending tool comes with several pieces of foam, which last a while. You can also buy refill packages of blending foam. You do need a separate piece of foam for each color of ink.
If you're not sure if you want to buy this just yet but have the inks and would like to try, you can use foam makeup sponges. Not as fine but it would let you see what working with it is like.

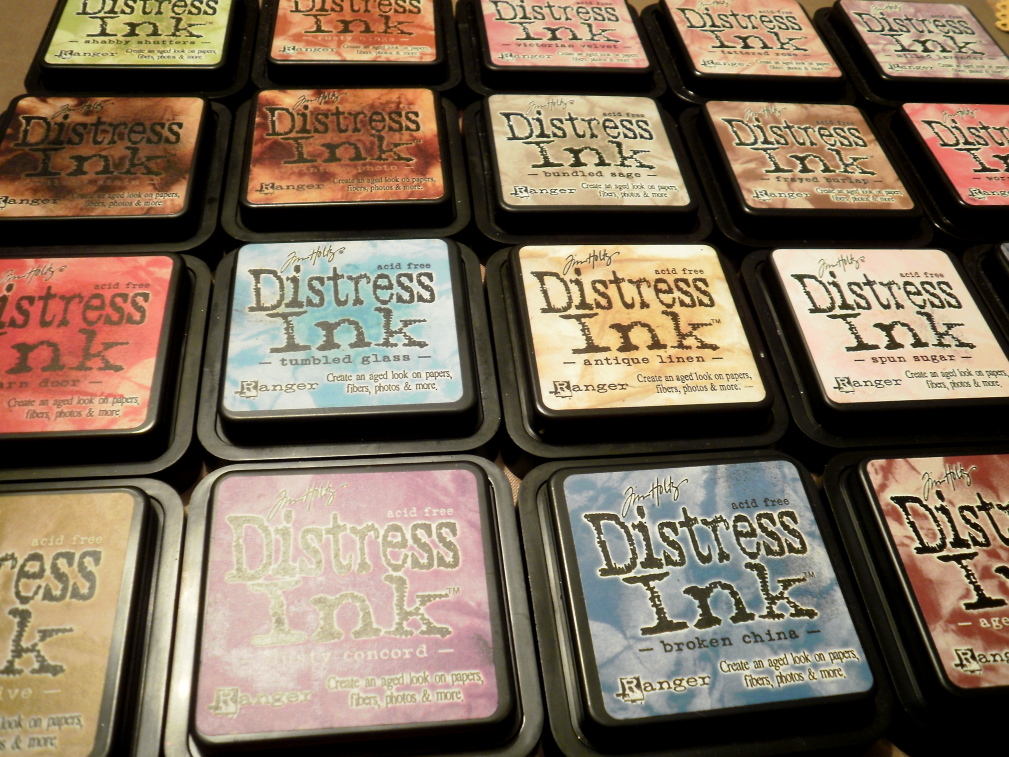
Now you need a few colors of Distress Ink.
You can find these inks at Michaels, Hobby Lobby, most scrapbook stores or here at Amazon.com.
I have lots of colors and love them! Some of my favorite colors are:
You may just want to start with one or two colors at first which is fine! If you are wanting to create an aged look, start with Vintage Photo and Walnut Stain
 . These are Dye inks instead of pigment inks, meaning that the pad isn't spongy and thick like pigment inks. The ink works great for stamping and embossing as well.
It is important to let you know that it is not a permanent ink. It will react and change with water and other products. That is so that you can create really cool effects with this ink.
I am going to show you today how to create a soft even coating of ink to cover a tag. You can use smooth cardstock for this as well.
The color I am using is Bundled Sage .
.
As you can see I have a piece of foam, my ink pad and my blending tool.

Place the foam on your blending tool and rub the tool onto the ink pad.
If you want heavy coverage, you will rub the tool into the ink pad. If you want light coverage, you will want to just tap the tool onto your ink pad. If you are working with a brand new ink pad you will want to tap it, as the ink is very wet.

Now starting off the tag and working your way on to the tag move the tool in a circular motion. That is important to ALWAYS go in a circular motion. Otherwise you will see hard lines from the edge of the foam square.

You just want to go in a circular motion all the way around your tag, gradually working inward. That way it is darkest around the edges and lightens as it goes to the center, creating a nice shading.

Here is the tag after it has been completely covered with Distress Ink.

Another option is to use more than one color, creating lovely blended backgrounds.
For this I am starting with Tumbled Glass Distress Ink.
I covered in circular motions the upper left corner and the lower right corner.

Now I am taking Antique Linen , which is a lovely light brown color and inked the opposite corners, working my way to the middle. If I had used a darker color and crossed over the Tumbled Glass, it would have created a different shade. You can easily use up to 4 different colors, more and you would have to be careful not to make it look too muddy.

I then tool Walnut Stain, which is a dark brown and went just around the edges.
I see lots of people inking their edges by taking the ink pad and running it directly across the paper.
By doing it that way, you have little control over how much ink comes out and how light or thick an edge it creates without making a mistake. By using the blending tool you can control how much ink you have on the tool and how thick an edge you will have.

I have taken this card and finished it off using paper from my 2 favorite scrapbook companies, October Afternoon and Cosmo Cricket.

Leave a comment on this post
and I will randomly draw someone on Friday, March 4 to give this tag to!
Wishing you a creative day, Lindsey


.jpeg)


.jpg)


.jpg)


.jpg)


