Monday, November 30, 2009

Sweet Images


Hello everyone! We just had to share this precious picture of our babies.
Aren't they cute?!

We would like to thank everyone for your wonderful comments. It is so nice to know that you are enjoying our ideas.


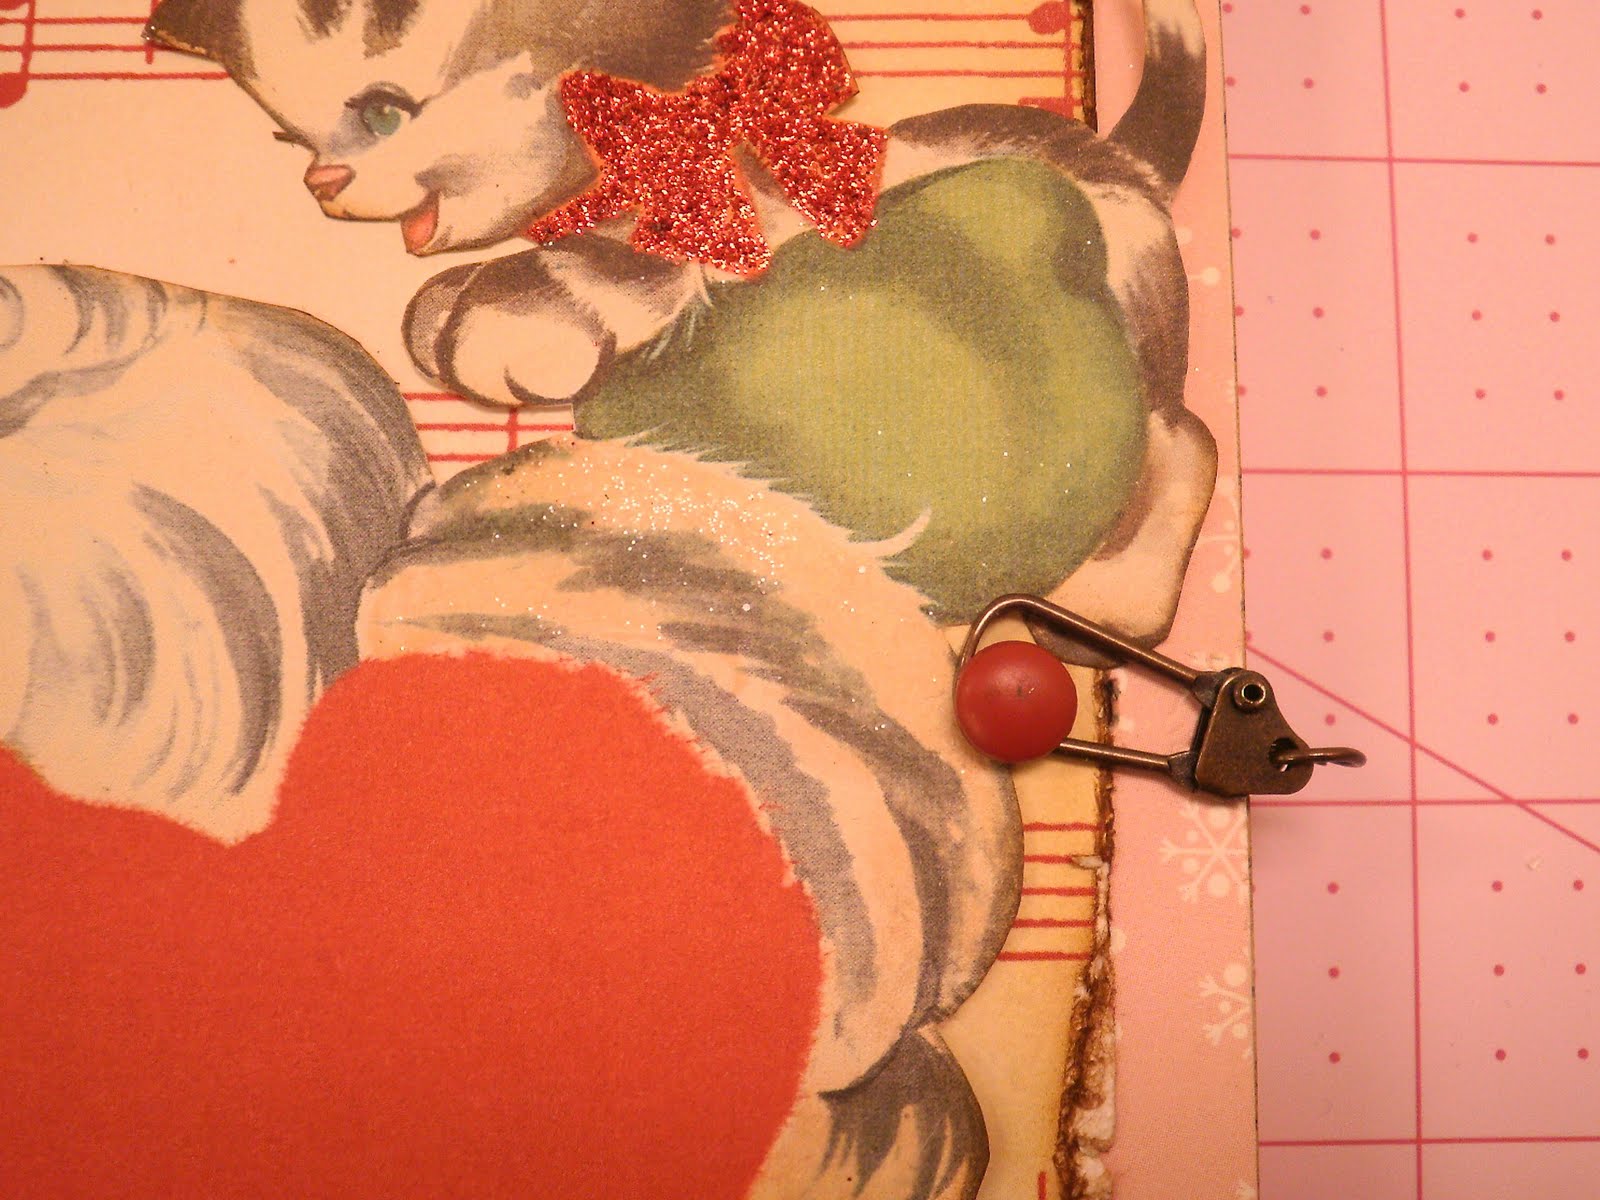
One of the things we enjoy most is being able to share our collection of vintage images with you. This is a card that we found just this weekend and knew you'd love it as much as we did!

This little elf is on the inside of the card.


This one is on the back.


I love the style of this one. It's dated on the back, 1928.


As promised, we are excited to announce another giveaway!
Lindsey made this set of tags for one of you.

All you have to do is leave a comment on this post and we'll pick a winner Wednesday!


Have a wonderful day!
Twyla and Lindsey

Sunday, November 29, 2009

Sugar Kissed Garland

Today I wanted to show you a fun little garland that is quite easy to make. This is not an original idea. A few years ago Anna Marie Horner showed a tutorial for a felt garland using all different colored felt. I loved it so much that I always intended to make one.
When Lindsey and I chose the color scheme for our Christmas crafts I decided to do this garland in red and pink.
I used a spool of thread to draw circles onto the felt with a pencil. It depends on how long you want to make your garland how many circles you'll need. Keep in mind that they are doubled. I found that two pink and two red pieces of felt were plenty to make an almost 7' length.


I used three strands of DMC to do the blanket stitch around each circle. The colors I used were Red 321 to stitch around the pink circles and Pink 3689 to stitch around the red circles.


I connected all the circles with a long strand of doubled thread pulled through the center of each so that they would be free to turn. You could also just whip stitch each one together.


I hope that you've enjoyed this tutorial today. Be sure to come back tomorrow for more ideas and another give away!
Have a beautiful day!
Twyla and Lindsey

Saturday, November 28, 2009

Brown Paper Packages

Welcome, friends!


"Brown paper packages tied up with string."


Lindsey and I have been having fun experimenting with different ways to customize our gift wrapping this year.


We used regular brown wrapping paper, the kind used for mailing packages and used some of our favorite Christmas stamps and stamped images on the paper.


We thought how great it would be to stamp the person's name on the package so there would be no mixup when Christmas morning comes!


Lindsey showed me this neat trick of putting a rubber band around the letters. Clever girl!


Baby ric rac and flocked jingle bell in Sugar Kissed colors.


Here, Lindsey used ribbon and flowers to decorate the package.


Use your imagination and you can come up with many pretty wrappings that are totally customized.


Thank you for joining us today. We hope you liked this idea. See you tomorrow!
Have a Sugar Kissed Day!

Twyla and Lindsey

Friday, November 27, 2009

Thanks and Giving


We wanted to say how much we have appreciated the enthusiastic response we've gotten from our Sugar Kissed Christmas. It is for you that we have made the effort to put together this special Christmas event. We have many more craft ideas that we are excited to share with you. We love your comments and feedback and would love to hear what you like most.

>

It makes us happy to share these images from our collections with you. Feel free to use it as you wish. We'll be back with a new tutorial tomorrow!

See you then!

Twyla and Lindsey

Thursday, November 26, 2009

A treat for our dear friends

Here's a helping of joy and cheer
To add to your Thanksgiving feast,
So draw up and help yourself
To a million joys at least.
Happy Thanksgiving from Twyla and Lindsey

Wednesday, November 25, 2009

A Sugar Kissed Barbie Wednesday


Hello Friends, I want to start this post by sharing a picture of a Barbie that has the Pink and Red Sugar kissed look to her! This is Campus Sweetheart Barbie. She is one of the reproduction dolls that were realeased this year.


I want to show you more from Barbie goodies from my Birthday! My Aunt gave me this really awsome Barbie display, created by Hallmark for displaying Barbie ornaments. It lights up to create this beautiful, magical display!


Included in this set was this Solo in The Spotlight Barbie ornament. Her dress is glittered unlike the original Solo in The Spotlight Barbie ornament realeased a few years ago.

My Mom gave me this beautiful ornament this year for my Birthday. This is probably my favorite from this years collection. It is a replica of an original Ponytail Barbie in a replica box.

The doll has moveable arms and legs just like on the original doll.


My Mom also gave me this ornament which I really love! An Open Toed Heel that is covered in pink glitter! Every girl needs this ornament! It is so cute and will stay out all year long!


I wanted to take a moment to tell all the Twilight lovers out there that I have seen New Moon twice now and there is also a good possibility of going again tonight!
Although it is very different than the first movie, I truly loved it! It was a magical movie and I encourage everyone to see this movie!

I hope you are having a great week! Lindsey

Tuesday, November 24, 2009

Sugar Kissed Gift Card Holder

This week for Twyla on Tuesday I decided to ask Lindsey if she would create these gift card holders for you. They are so pretty and turns an ordinary gift card into a special gift. I am so proud of her talent and creativity. I will now let her explain!
These Gift Card holders are great for making customized holders to match your holiday decor or the personality of the speacial someone who is receiving the gift card! I have 5 cards pictured here. All made in a about 5 minutes each!


For making these Gift Card holders you need to start with a sheet of heavy paper such as cardstock. This is a light dusty pink Bazzil cardstock I am using. It is 12 x 12 in size.


Cut your paper to be 4 x 5 1/4 " for a standard gift card. You may want to buy and measure your gift card if you think it is not a standard size.

Fold your paper in half.

Your gift card holder should be 4" wide.


For the slot on the inside to hold your gift card, I use these punches by EK Success. You can find them at most craft and scrapbook stores. One is a decorative edge and one is plain slot.


Stick your paper in the punch lining up the corner and cut along the bottom on both sides.

Your corners should look like this.

Here is what the decorative corner punch looks like with a standard sized gift card.

Decorate the front of your card holders with cute Christmas scrapbook supplies. I am using Cosmo Cricket's Jolly by Golly.


I took this page from the collection and cut out Santa Claus giving a present. I then cut off the green borders and ....

Here's how it looks!
I inked the edges and added a decorative edge from a straight edge punch. Now it's ready for a gift card!

Thank you for joining us again today! Hope your day is Sugar Kissed!

Twyla and Lindsey

Monday, November 23, 2009

A Sugar Kissed Winner!


I am so happy to announce the winner of our first Sugar Kissed giveaway. It is non other than the very sweet blogger Diane of Saturday Finds. Congratulations Diane!


The project we are sharing today are these sweet little gift bags.


I've used tea dyed muslin that I found at JoAnn's and Wal Mart. I cut my muslin 6 1/2" by 4 1/2". They make small bags. You might want to cut your's bigger depending on what you want to put in it.


Sew 1/4" from the edge. I cut mine on the fold so that I only had to sew up the bottom and one side of the bag. I handsewed these, but if you want to use your machine, great! I then ironed them and cut across the top with pinking shears. Lindsey stamped some of her Christmas images on them. These particular acrylic stamps were purchased at Michael's as well as the Pigment ink pad in Red Pepper.


Just add some twine or a pretty ribbon for gift giving. I really think the receiver will be very enchanted by the gift bag as well as the fact that you made it!


It's the simple little projects this time of year that I enjoy creating and hope that my family will treasure.


It's not how much we give but how much love we put into giving. -

Mother Teresa

Have a happy day! Twyla and Lindsey

Sunday, November 22, 2009

A Vintage Image for You

This sweet postcard is from my collection. It was addressed to Merlon from Grandma Libby.
Feel free to use it.

Christmas waves a magic wand over this world, and behold,
everything is softer and more beautiful. -
Norman Vincent Peale
Have a blessed Sunday!
Twyla and Lindsey

Saturday, November 21, 2009

A Sugar Kissed Tutorial

Hello Friends, Welcome to my tutorial of an altered composition book perfect for filling with your wish lists, activities, plans and memories.

Here, I have taken a standered composition book that I purchased from Wal Mart but you can also find them at The Dollar Store.


Cut your paper 9 3/4" x 7 1/2" to cover your book. If your composition book has rounded corners, you can use a corner rounder found at your local craft store or after gluing your paper down you can take a nail file and sand the edges in downward motions to create a smooth edge around your book. I then took song sheet paper that measured a 7 1/2" x 6 1/2" and distressed the edges by running my scissors along the edges and ink with Vintage Photo Distress Ink. I then added a 1 1/2 inch strip along the spine too add more dimension to my book. I also added ribbon along that strip and tied a bow which I added to the top right corner of my book. This book says Christmas Memories along the top, but you could change that to whatever fits with how you plan to use the book.


I then cut out this sweet image of Santa, cutting of the bottom right below his belt.


I then glued my image to the cover and added clear glitter to Santa's fur coat. I also glittered the kitten's bow in a bright red glitter.


I also added this swivel clasp by Tim Holtz which you can find at your local scrapbook store. If you need help finding this, contact me for more info.

A large red brad holds the clasp in place.


To give your book more pizazz I decorated the first page, too! A simple envelope secured with masking tape gives the book a vintage distressed feel and the perfect pocket for storing ephemera and photos.


I also stamped Christmas images and added lace ribbon which I stapled to the page.


I covered the back with pink cardstock and secured the swivel clasp that wraps around the front using a red brad.


And that's it! You're done! Composition books also come in small sizes, too. They are small and the perfect size to fit into your purse!
I cut my paper 4 1/2 x 7 and wrapped the paper around the book. You will need to set something heavy on top as the paper dries on the cover so that the book will stay closed. I then added a strip of mini red ric rac to the top and bottom, glittered, and stamped the cover. I then added a paper flower with a vintage pink button tied with twine.


I hope you enjoyed another tutorial as we begin our Sugar Kissed Christmas. Please leave a comment to be entered in our giveaway pictured below. You have until tonight at midnight to be entered.
Have a great weekend, Lindsey